
Table of Contents
The instant change in your kitchen, bathroom, or storage space comes with DIY cabinet doors, and it can barely cost you a small percentage of the cost of having to install an entire job lot of cabinetry. Your project may be a time-saving design, or maybe a new woodworking technique, or an unusual appearance at the stores you can shop at.
Maybe we should plan every detail the best way possible: the materials, measurements, joinery, finish, hardware, troubleshooting, safety, and even a detailed assessment of all the costs you will incur. The descriptions are not complex, the paragraphs are not lengthy, and only necessary bullets are applied; hence, the new population will not get disheartened.
Technology Guide: Wood Selection & Alternatives
Cabinet doors are affected by the type of wood, durability, type of finish, and cost. Pine, oak, maple, and cherry are the most popular ones. Pine is cheap, workable, and used relatively often in painting doors.
The oak is robust and comes with coarse granules that suit the rustic or traditional appearance. Maple is slick and solid, and the best for conforming to contemporary styles or painted finishes. Cherry is more costly but more desirable to deepen with age to achieve a rich, natural ringing, as is the case with stained doors.
Pine is the easiest to dent yet cheaper. Oak is heavy, coarse, and solid. Maple is not soft as to cut. Cherry is premium but costly. This knowledge will enable you to select wood depending on what finish paint or stain you would need and what effect you would want to make on your cabinets.
Quick Pros & Cons
- Pine: It is cheap, not heavy, and easy to cut, but it will be easily dented.
- Oak: A nation of grain, traditional, heavy, strong, and of great price.
- Maple: Modern, short, and even slick, but more difficult to stain.
- Dick, colorful but tedious.
Cost Comparison (Average per Board foot)
Pine: $3–$4
Oak: $6–$8
Maple: $7–$9
Cherry: $9–$12
In the case of painted doors, pine or maple is preferable.
Oak or cherry is lustrous due to the natural tones of the grain used on stained doors.
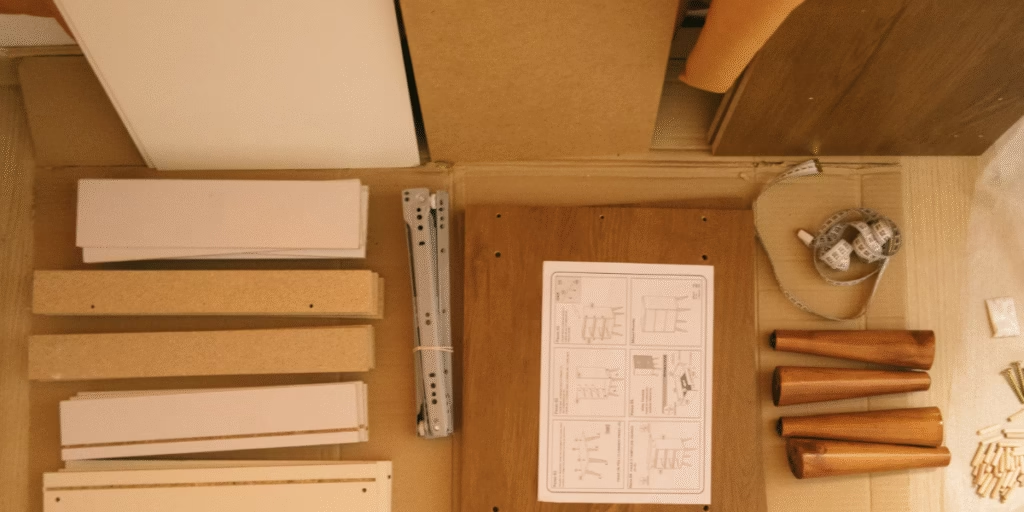
Accurate Formulas of Measurement
Professionally, looking at doors is a secret of good measurements. In the case of inset doors, the door fits within the frame of the cabinet. In the case of overlay doors, the overlaying door rests above the frame, and it covers it. The two demand various formulas. js +1- overlays Cabinet opening + overlay amount (typically + 1 inch aggregate). Inset door size = Cabinet opening – 1/16 clearance.
These equations make sure that the door does not rub, does not fall, and does not create an awkward opening. The most typical error is the measurement of only the width or the neglect of the overlay of the hinge. With no misalignment, the latter was avoided by using a metal tape and checking every dimension.
Avoid These Mistakes
- Making measurements and not seeing whether the cabinet frame is square.
- Forgetting hinge clearance
- Using worn-out tape measures
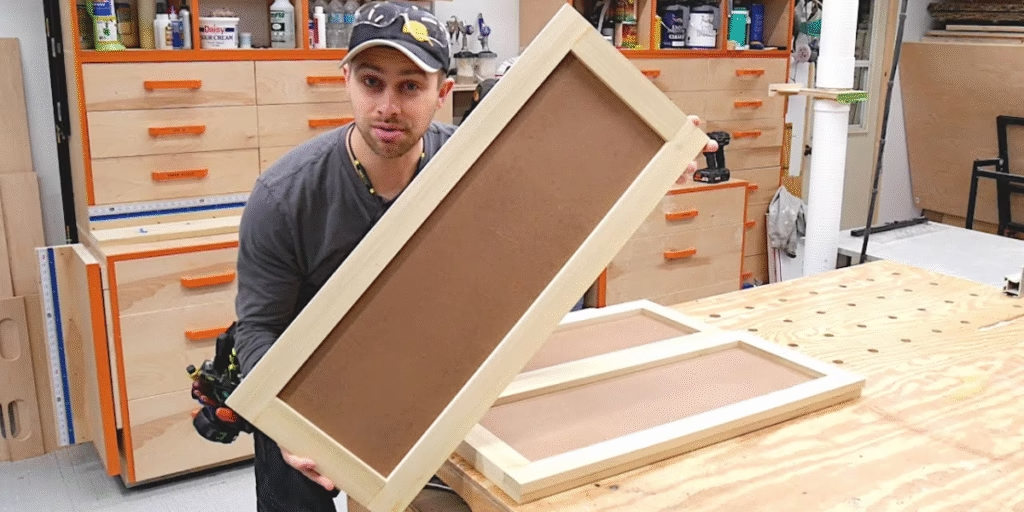
Comparison of Traditional Methods.
Cabinet doors are built with three major types of joinery: mortise-and-tenon, pocket holes, and tongue-and-groove.
The strongest joint is the mortise and tenon, which is the most time-consuming. Pocket holes are accessible to amateurs and the fastest. Tongue-and-groove appears neat and contributes to the floating of the panels, thus avoiding cracking.
Pros/Cons Summary
- Mortise & Tenon: Extremely solid; however, it takes capability.
- Pocket Holes: Easy and quick; however, they are seen if not concealed.
- Tongue & Groove: This is good with panel doors, though it requires accurate cuts.
Final finishing detail. This process entails completing the finished building’s surface with a final finish.
The last appearance and the stability of the door are determined by your finish. Shellac primers seal stains and odors, so they are suitable for old wood. A primer based on water dries quicker and does not emit a smell; it is also ideal for indoor DIY. Modern styles are best done in painting and stain, emphasizing the wood grain.
The process entails a basic three-layer paint requested to be applied over the framework with a primer, two to three layers of paint, and sanding between the layers. The stain method requires a pre-stain conditioner, stain per se, and two applications of sealer.
Sanding is the key ingredient of a smooth finish: start with 120 grit and then go on to 180 grit, and finally bring it to 220 grit.
Sealer options
- Polyurethane crystalline and water.
- Oil‑based polyurethane.
- In oil-based polyurethane (they are more durable), a warm tone is used.
Hardware installation manual.
The decision of the right will influence the swinging and the sitting position of your door. Hidden hinges are contemporary and completely adjustable. Euro hinges can also be used in frameless cabinets. Surface-mount hinges are the easiest, and they are fixed externally to the frame.
The hinge is typically placed 2.5 inches above and below. Having a drill template is a sure way to have your knobs and pulls all aligned. Sinking or scraping doors are easy to correct after the installation of the doors.
Troubleshooting section
Wood will warp when it is stored at right angles or when it is in contact with water.
Minor warps may be repaired by clamping and making them a bit moist.
In case loopholes exist between the frames and doors, readjust the hinges rather than cut the wood.
Alignment issues often come from uneven cabinet frames rather than bad measurements. Also, consider the weight; heavy doors need strong hinges to avoid sagging.
Alternatives to tools when building a budget.
You do not have to pay a fortune to create beautiful doors. Instead of a Kreg Jig, you may use dowels or simple butt joints, which are reinforced by means of glue and screwing. A circular saw can be used to produce perfectly straight cuts with a homemade guide rail. Nevertheless, sandpaper on a wood block is also a true thing when you do not have an orbital sander. Clamps may be substituted with heavy books or even bricks in case of need.
Safety precautions
MDF emits fine dust that may become dangerous when inhaled; it should be used with a good-quality mask. Safety glasses will take care of you in instances of flying stuff, and gloves will offer you a grip when working with wood. You must always cut outward from the body, and your hands should remain steady on the instruments.
Cost Breakdown Table
| Material / Item | Cost Per Door |
| Wood | $12–$25 |
| Hinges | $4–$10 |
| Paint/Stain | $3–$6 |
| Screws & Hardware | $2–$4 |
| Total | $20–$45 |
Purchasing the doors in a preassembled form may cost 80-150 dollars per door, and it reduces the cost to less than half when constructed by hand. When bulk projects are involved, savings on materials are enhanced many times.
Grain Direction & Aesthetics
The direction of the grains impacts the whole visual flow of the door. Vertical grains are more hectic with the sense of height and grace, whereas horizontal grains are smoother and more contemporary. Pairing the grain patterns in various doors gives a high-end, factory-made look. Beginners can choose straight-grain timber that is not as hard to sand and is typical of finishing.
FAQs
Q1: What is the most favorable wood to use as a beginner making cabinet doors?
Pine or maple, as it is cheap and simple to deal with.
Q2. Is it possible to make a cabinet door without a router?
Yes, pocket holes, dowels, or just plain flat-panel designs.
Q3. Which paint among all is the best in your experience?
Glosses that are semi-gloss or satin are serviceable and convenient to maintain.
Q4: What would make me avoid warping cabinet doors?
Wood should lie flat in the store with all sides covered and no moisture allowed to come in contact with it.
Q5: Does being able to make your own cabinet doors cost less than purchasing new ones?
Yes, they are generally less than half the cost of doors sold in the store.
Conclusion
Home projects The creation of DIY cabinet doors is an extremely fulfilling home project. They are both creative and can save you money, as well as bring a visible change to your spatial appearance. It could be whether you pick the correct wood, add a smooth finish, or fit the hinges perfectly; each step will lead you to a custom appearance that is something that can never be purchased in a shop with store-bought doors.
Armed with the equations of measurement, options of tools, finishing instructions, and trouble-solving tricks in this article, even a beginner can create doors that appear to be professionally crafted. Be relaxed with your style, have a recheck of your cuts, and make it fun. Your confidence will develop very fast.
I love how Ghibli’s soft, dreamy style inspires so many artists! It’s amazing to see how AI tools like 지브리 AI can capture that nostalgic feel while exploring new creative directions.