Table of Contents
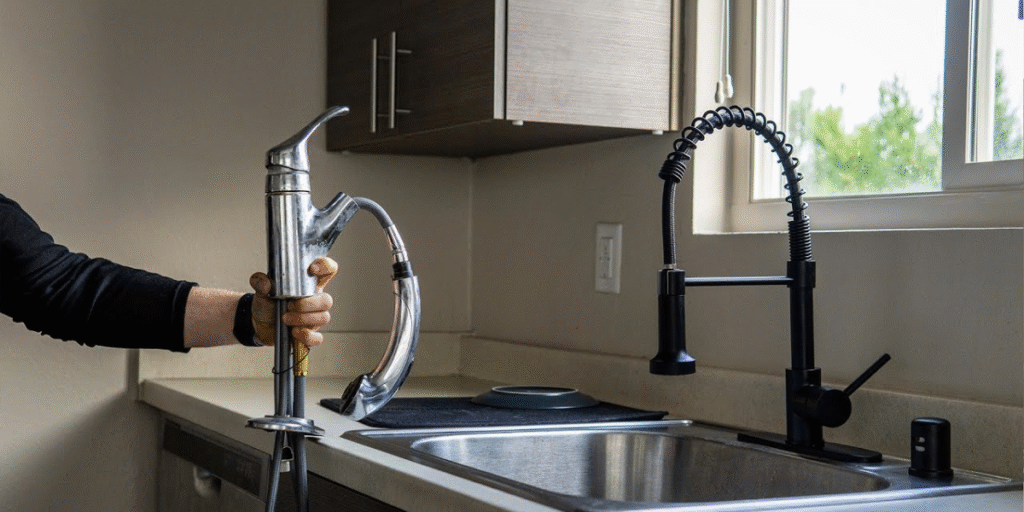
You may find yourself all full of it and believe that it would be a daunting task to replacing a faucet in the kitchen, but with proper planning and with the appropriate tools, it would be an exciting venture.
Other than enabling you to upgrade the appearance of your kitchen immediately, it enables you to save hundreds of dollars on professional labor.
These guidelines shall guide you on the pre-installation planning and troubleshooting after completion of the job, and you will be interested in cost, efficiency, and safety.
Pre‑Installation Planning
You may take a moment to plan your work before you get a wrench. Being aware of the various types of faucets, budget, and sink design should enable you to keep everything flowing without a hassle.
Faucet Types Comparison
- The faucets consist of three basic faucet styles:
- Single-handle, easy to use in smaller kitchen sizes, and can quickly adjust the temperature.
- Double-handle 7 is more accurate when hot or cold water is used and has a more traditional appearance.
- Touchless is an activated, sensor-operated, hygienic, and modern touchless device that is convenient in busy households but needs a battery or electrical power.
Budget Guide ($50–$800)
- When you have an idea of what to expect, it will be easy to pick a faucet you can afford:
- 150-Entry-level models, most often chrome-plated plastic or plain metal.
- $150400 Mid-range products that have pull-down sprayers and stainless steel finishes.
- $400-800 – Premium, may be touchless or designer, advanced technology faucets.
Quality Indicators
Find the valves made of ceramics that require no leakage. A warranty is an indicator of great workmanship by a manufacturer.
Measuring Sinkholes
The majority of sinks consist of 1, 3, or 4 mounting holes.
A one-hole sink fits one-handle faucets.
The whole sink is intended to be used with the double-handle or side-sprayer faucets.
A 4-hole sink can be fitted with more gadgets, like soap flows.
Compatibility Check
In case the holes of the new faucet do not fit your sink, put on a deck plate on the additional holes. This is to ensure that the installation is clean and that it is effective in converting multi-hole to single-hole installations.
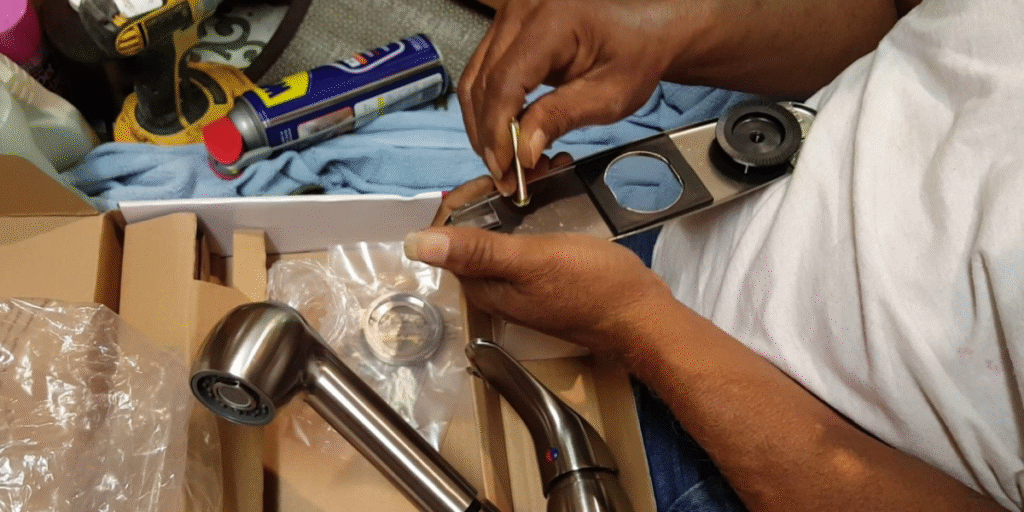
Fully Comprehensive List of Tools and Materials.
It is better to be prepared before being halfway installed.
- Basic Tools
- Adjustable wrench
- Screwdriver
- Plumber’s tape
- Flashlight
- A bucket for catching water
Optional but Helpful Tools
The basin wringer fits well under the sink.
In case of rusted nuts, some penetrating oil like WD-40 will loosen them.
Safety Gear
Gloves, safety glasses, and you are safe.
Have a towel close to the table in case some spillage occurs.
Comfort Tip
Cover the paint cans under the sink with plywood. It provides backup and simplifies long installations.
Common Problems & Solutions
With the preparation, minor issues may arise even when there is preparation. Handle them efficiently. In stiff or rusty nuts, add some penetrating oil and leave it to wait a couple of minutes, and then pierce it with a basin wrench.
Leaking shut-off valves in case of failure of tightening; therefore, replace the valve lest it be damaged.
- The escutcheon plate is not fitted; fill in additional sinkholes with a plate to give a polished finish.
- Short supply lines are substituted with new flexible lines that extend to the connections.
- Torn threads apply to the Teflon bottom, or simply change the lost element.
After‑Installation Checks
After installing the faucet, some basic checks are to be done. Check installation at 48-72 hour intervals. To measure the pressure of water, switch on the hot water tap and the cold water tap. Then operate the aerator for 1 minute to disturb any particles that would otherwise be collected and turn it off. Assuming that there is a pull-down sprayer, check the extension and re-extension, keeping the sprayer on a smooth track.
More features are provided as detailed below
The current faucets have numerous convenient features in the kitchen.
Pull-down vs. pull-out sprayers: pull-down faucets are used with deep sinks; pull-out is used in small kitchens.
High-arc faucets with tall spouts have been introduced because they can be used to clean large pots and pans.
Touchless technology is the best as far as hygiene and water consumption are concerned, but the battery needs to be replaced.
Finishes Chrome is gleaming, and it displays the fingerprints. Stainless steel is tough, but it requires frequent maintenance; bronze is also luxurious but requires frequent care.
Cost Breakdown
The costs will amount to as follows, in a realistic sense:
The cost of applying the DIY is a savings of $260 to $480 on labor. Prices of faucets go as low as $50 to as high as $800 for the luxury touchless faucets. Adding supplies like plumber tape, sealant, or flexible lines will require an extra 20-50.
Maintenance Tips
- Wash the aerator either every month or every quarter to wash off debris.
- Keep the finish clean with diluted soap and a light cloth; do not use rough cleanup stuff.
- Change the cartridges after every 3-5 years or when a leakage occurs.
- Periodically clean the pull-down action by checking the weight of the spray hose.
Troubleshooting Section
In the case of low water pressure, take out the aerator and wash it to get rid of sediment. To seal any leaks at the bottom, screw the mounting nuts on or even change the shabby O-rings. When the spray head does not retract, then change the weight of the hose. When the handle is loose, the set screw in the handle cap is frequently tightened.
Quick Data Installation
The break-even comparison of the cost and time of installing a faucet is as shown below:
| Installation Type | Approximate Time | Average cost |
| DIY Replacement | 1. 3 Hours | 50150 (Supplies) |
| Professional Installation | 2-4 Hours | 260-480 (Labor) |
| Touchless Faucet Installation | 3-5 Hours | cost $400-800 (total) |
Comparisons and Recommendations of Brands.
Making the right brand choice makes a huge difference in achieving and surviving. Lifetime warranties and easy performance are some of the features that Moen is well known for. Have. Delta has innovative spray technologies.
Kohler enjoys a preference due to its classy designs and durability. To save money, you can look at either Peerless or Glacier Bay, but not all of them have high-quality finishes. Before you purchase, always make sure that there are replacement parts, and you may find that the company is well pleased with how it deals with its customers.
FAQs
Q1. The question is how long a kitchen faucet should be able to last.
A. With good maintenance, a faucet of high quality can last 10–15 years.
Q2. Can a sink with three holes be utilized as a 1-hole sink?
A. Yes, put in a deck plate where they aren’t modified.
Q3. What is happening with my faucet at the bottom? Why is it leaking?
A. It normally occurs because of a loose mounting nut or a worn-out O-ring.
Q4. How come there is dirt in a clogged aerator, and/or how will I clean it off?
The deposits of minerals and debris accumulate and become clogs. Cleaning would be to run the aerator in vinegar (10 minutes) and then run it under water.
Q5. When should I call a plumber?
In case of a leakage, a broken valve, or a clog that one cannot repair, then it is time to call a plumber.
Conclusion
The cost one will end up spending on renovating is minimal since one can simply replacing a faucet in the kitchen to upgrade functionality and style.
Using the proper tools, proper planning, and some patience, you will get results at a professional level. With this guide, you can finish the job effectively and with a lot of confidence, be it’s your first time doing DIY work or you are a seasoned homeowner.